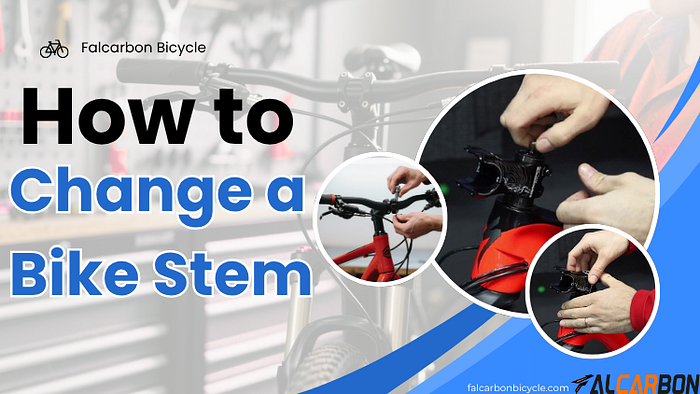
How to Install a New Bike Stem – Beginner Tips
As a beginner in cycling, I never thought something as small as a bike stem could make such a big impact. But after feeling discomfort during long rides and struggling with control on turns, I realized it might be time to make a change. That’s when I decided to replace my bike stem — and honestly, the results were amazing.
If you’re also new to this, don’t worry. I’ll walk you through why I made the switch, what tools I needed, and step-by-step how I replaced my bike stem, all based on my own experience. I also upgraded to the Falcarbon FS20 Carbon Stem, which I’ll talk more about below.

Related Articles: How to Change a Bike Stem.
Why I Decided to Replace My Bike Stem
At first, I didn’t even know what a bike stem did. But after doing some research (and feeling real neck pain after every ride), I learned that the stem connects your handlebars to the steering tube. And it affects way more than you’d think:
- Comfort: A shorter stem helps bring the handlebars closer, which made my riding posture more upright and relaxed.
- Control: I noticed my mountain bike felt quicker and more responsive after switching to a shorter stem (mine is 50mm now).
- Riding Style: I ride casually and sometimes on gravel trails, so I needed a setup that felt stable but not too aggressive.
What I Used
Here’s what I had on hand before starting:
- Allen wrenches (I mostly used 4mm and 5mm)
- Torque wrench (super useful for safe tightening)
- Carbon assembly paste (since I used a carbon stem)
- New stem (the Falcarbon FS20 — strong, light, and looks awesome)
- Rag for wiping down parts
- Bike repair stand (optional, but makes things easier)
Step-by-Step: How I Changed My Bike Stem
Step 1: Set Up the Bike
I placed my bike on a repair stand, but you can also lean it against a wall. Just make sure it’s stable. I also put tape on my handlebar to remember its original angle and position.
Step 2: Remove the Handlebar Faceplate
Using a 4mm Allen key, I unscrewed the bolts on the front plate of the stem in a diagonal pattern. After that, I gently removed the handlebar and rested it on a towel.
Step 3: Remove the Old Stem
Next, I loosened the bolts on the side of the stem (where it connects to the steering tube). I slid the stem upward and completely removed it from the bike.
Step 4: Install the New Stem
Before installing the new stem, I applied carbon paste to the contact surfaces. Then I slid the Falcarbon FS20 stem onto the steerer tube, replaced the spacers as they were before, and loosely installed the top cap bolt. Important: make sure there’s a 2–4mm gap between the top of the steerer tube and the top of the stem so everything tightens correctly later.
Step 5: Reattach the Handlebar
I placed the handlebar back into the new stem and aligned it using the marks I made earlier. I screwed the faceplate back on and used a torque wrench to evenly tighten all bolts in a crisscross pattern.
Step 6: Align the Stem
To finish, I made sure the stem was in line with the front wheel. Then I used the torque wrench again to tighten everything to the proper specs.
First Ride: What I Noticed
After installing everything, I went for a test ride — and wow, what a difference. Here’s what I paid attention to:
- Comfort: My arms felt way more relaxed. No more reaching too far!
- Handling: Steering felt sharper and more natural, especially on trails.
- Noise: I listened for creaks or loose parts — everything sounded solid.
If anything felt off, I knew I could adjust the handlebar angle or add/remove spacers under the stem to raise or lower it.
Choosing the Right Bike Stem
When picking a new stem, I learned you need to make sure it fits:
- Steerer tube (usually 1 1/8”)
- Handlebar clamp diameter (most modern bikes use 31.8mm)
Also, the length depends on your riding style:
- Short stems (40–70mm): Great for quick handling and upright riding (like on MTBs or casual bikes)
- Longer stems (90–130mm): Better for road bikes and a stretched-out position
Final Thoughts
Changing a bike stem seemed intimidating at first, but it turned out to be one of the simplest and most satisfying upgrades I’ve made. Whether you want more comfort, better control, or just a fresh look — replacing your bike stem is totally doable, even for beginners like me.
And if you’re looking for a solid stem to try, I absolutely recommend the Falcarbon FS20. It’s lightweight, strong, and gave my bike a whole new feel.
Comments
Post a Comment